Suzhou Asia-Europe Bridge Food Machinery Co., Ltd.


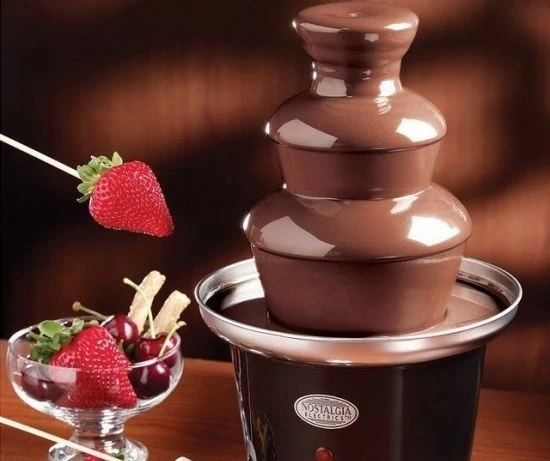
Chocolate block is one of the simplest and most popular chocolates. The production of chocolate block requires chocolate raw material processing equipment and molding equipment. First melt the solid fat in the melting tank, pour the granulated sugar into the sugar grinder machine and smash it for using. Then transfer the liquid fat to the mixer by pump, the cocoa powder is manually removed into the mixer to stir. In the mixer also need other ingredients of chocolate such as milk powder, whey powder, etc. The mixed mass is transported to the conche through the pump for grinding. In the conche, the chocolate mass is grinder through mixing and stirring to achieve the effects of homogenization, emulsification and deodorization. After 10-12 hours, the chocolate is grind to below 25 microns. The pump transfer the ground mass from the conche to the holding tank for the next step of molding and production. If it is real chocolate, a tempering machine is needed to adjust the temperature. The chocolate mass is transferred from the holding tank to the tempering machine by pump, and the tempered chocolate mass is transferred to the molding machine by pressure for forming.

Filled chocolate is one of many chocolate categories. Different sandwich flavors will bring a different experience to consumers. By changing the taste, you can increase the variety of chocolate. First melt the solid fat in the melting tank, pour the granulated sugar into the sugar grinder machine and smash it for using. Then transfer the liquid butter to the conche by pump. According to the formula, cocoa powder, powdered sugar, milk powder, whey powder, etc. are added to the conche in sequence. Generally, chocolate filling and chocolate have different recipes, which require two separate conche to grind. In the conche, the chocolate mass is grinder through mixing and stirring to achieve the effects of homogenization, emulsification and deodorization. After 10-12 hours, the chocolate is grind to below 25 microns. The chocolate filling and chocolate are respectively transported to the corresponding holding tank for storage in preparation for the next step of molding. If the chocolate is real chocolate, a tempering machine is needed to adjust the temperature. The chocolate mass is transported from the holding tank to the tempering machine by a pump, and the tempered chocolate mass is transported to the molding machine by pressure for forming. Ordinary fat chocolate can be producted by one shot molding line.

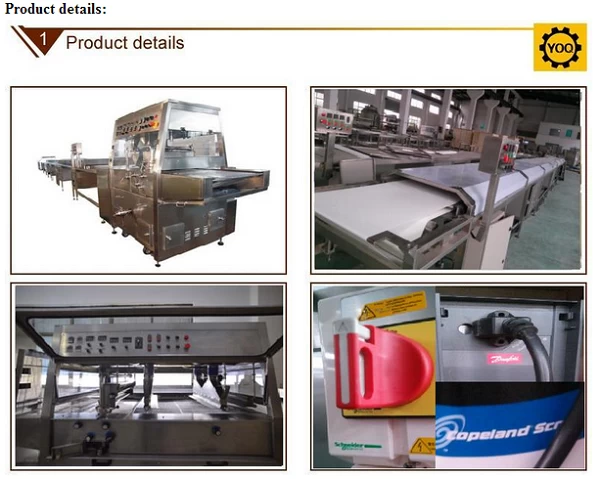
Chocolate enrobing production line is the coating of chocolate on the surface of wafers, cookies, omelets, custard pies, puffed food, etc. to enhance the taste and value of the product itself. First, the chocolate mass is ground by conche, and then the chocolate mass is transported to holding tank through pump for insulation. Then the chocolate mass transfer to coating machine hopper for storing through pump. The chocolate mass is transported to the tank on the upper part of the enrober by pump inside of the coating machine for spraying.

Chocolate peanut is one of the popular chocolate products in recent years. Using simple recipe and equipment. Chocolate peanut after Chocolate coating, balancing, coloring and Polishing. First making chocolate mass by conche machine after grinding transfer to chocolate holding tank. If the customer doesn't plan to produce a chocolate slurry by himself, can also choose to buy a chocolate semi-finished product, melt the chocolate transfer to holding tank for using. Peanuts poured into the polishing machine, poured into or sprayed into the chocolate mass through the slurry system, requiring intermittent replacement of hot wind and cold wind during the coating process. Wrap the chocolate mass on the surface of the peanut. After the coating is completed, need to staticing for 24 hours then pour it into the polishing machine to carry out color and brightening oil polishing.